All threaded holes in the block and cylinder head should cleaned and tapped with a thread chaser 10mm x 1.5. All bolts being installed should be lubed with a light oil or anti-seize on the bolt threads before assembly.
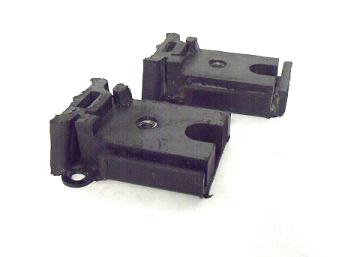
The base mount must first be installed on the block. Position the base mount so that the arrow on the plate is facing forward. They are marked "D" for drivers side. and "P" for passengers side.
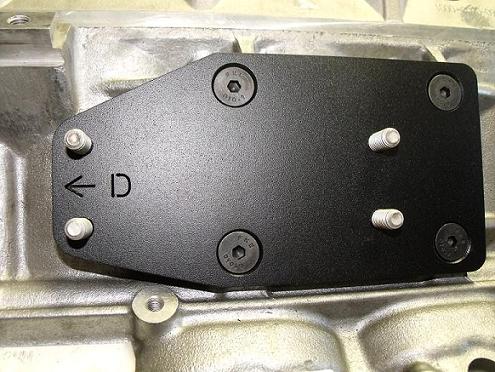
This is a drivers side mount. Place a drop of light oil or anti-seize on the metric counter sunk bolts and torque into the block 28ft. lbs. Next, place your engine mount or clam shell onto the top plate. Use the provided American 3/8 X 16 counter sunk bolts. Put a drop of oil or anti-seize on the threads of each bolt. The nuts may bind if you do not lube the threads. Place one washer and a lock nut on each bolt and torque to 28 ft. lbs.
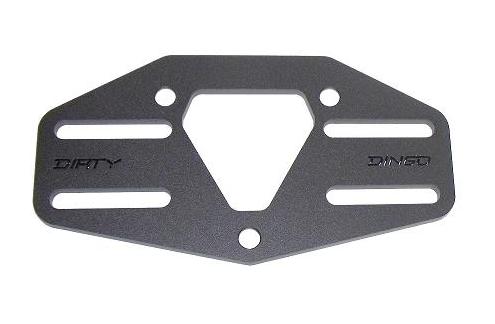
Place the top plate with your engine mount installed onto the base plate that is on the engine. Put a drop of oil on the threads of each stud. The nuts may bind if you do not lube the threads. Place one washer and lock nut on each stud. These are also American 3/8 X 16 and use a 9/16 socket. Tighten nuts by hand, do not torque them down yet.
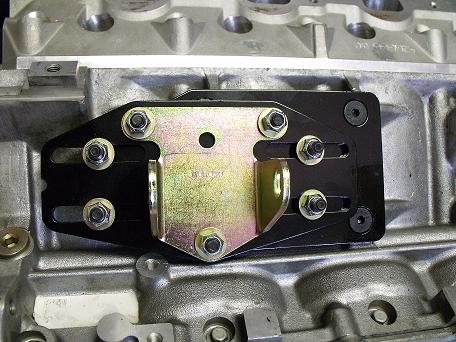
If the transmission mount is loose this will allow you to slide the engine back and forth into the desired position. Once you have engine positioned tighten the lock nuts to 28 ft. lbs.
Note:
When installing these mounts on the 1963-72 Chevrolet and GMC truck it may require the passenger side rubber mount to be trimmed on the bottom.
Shown here-